THREE.FBOHelper
FrameBuffer Object inspector for three.js

Demo
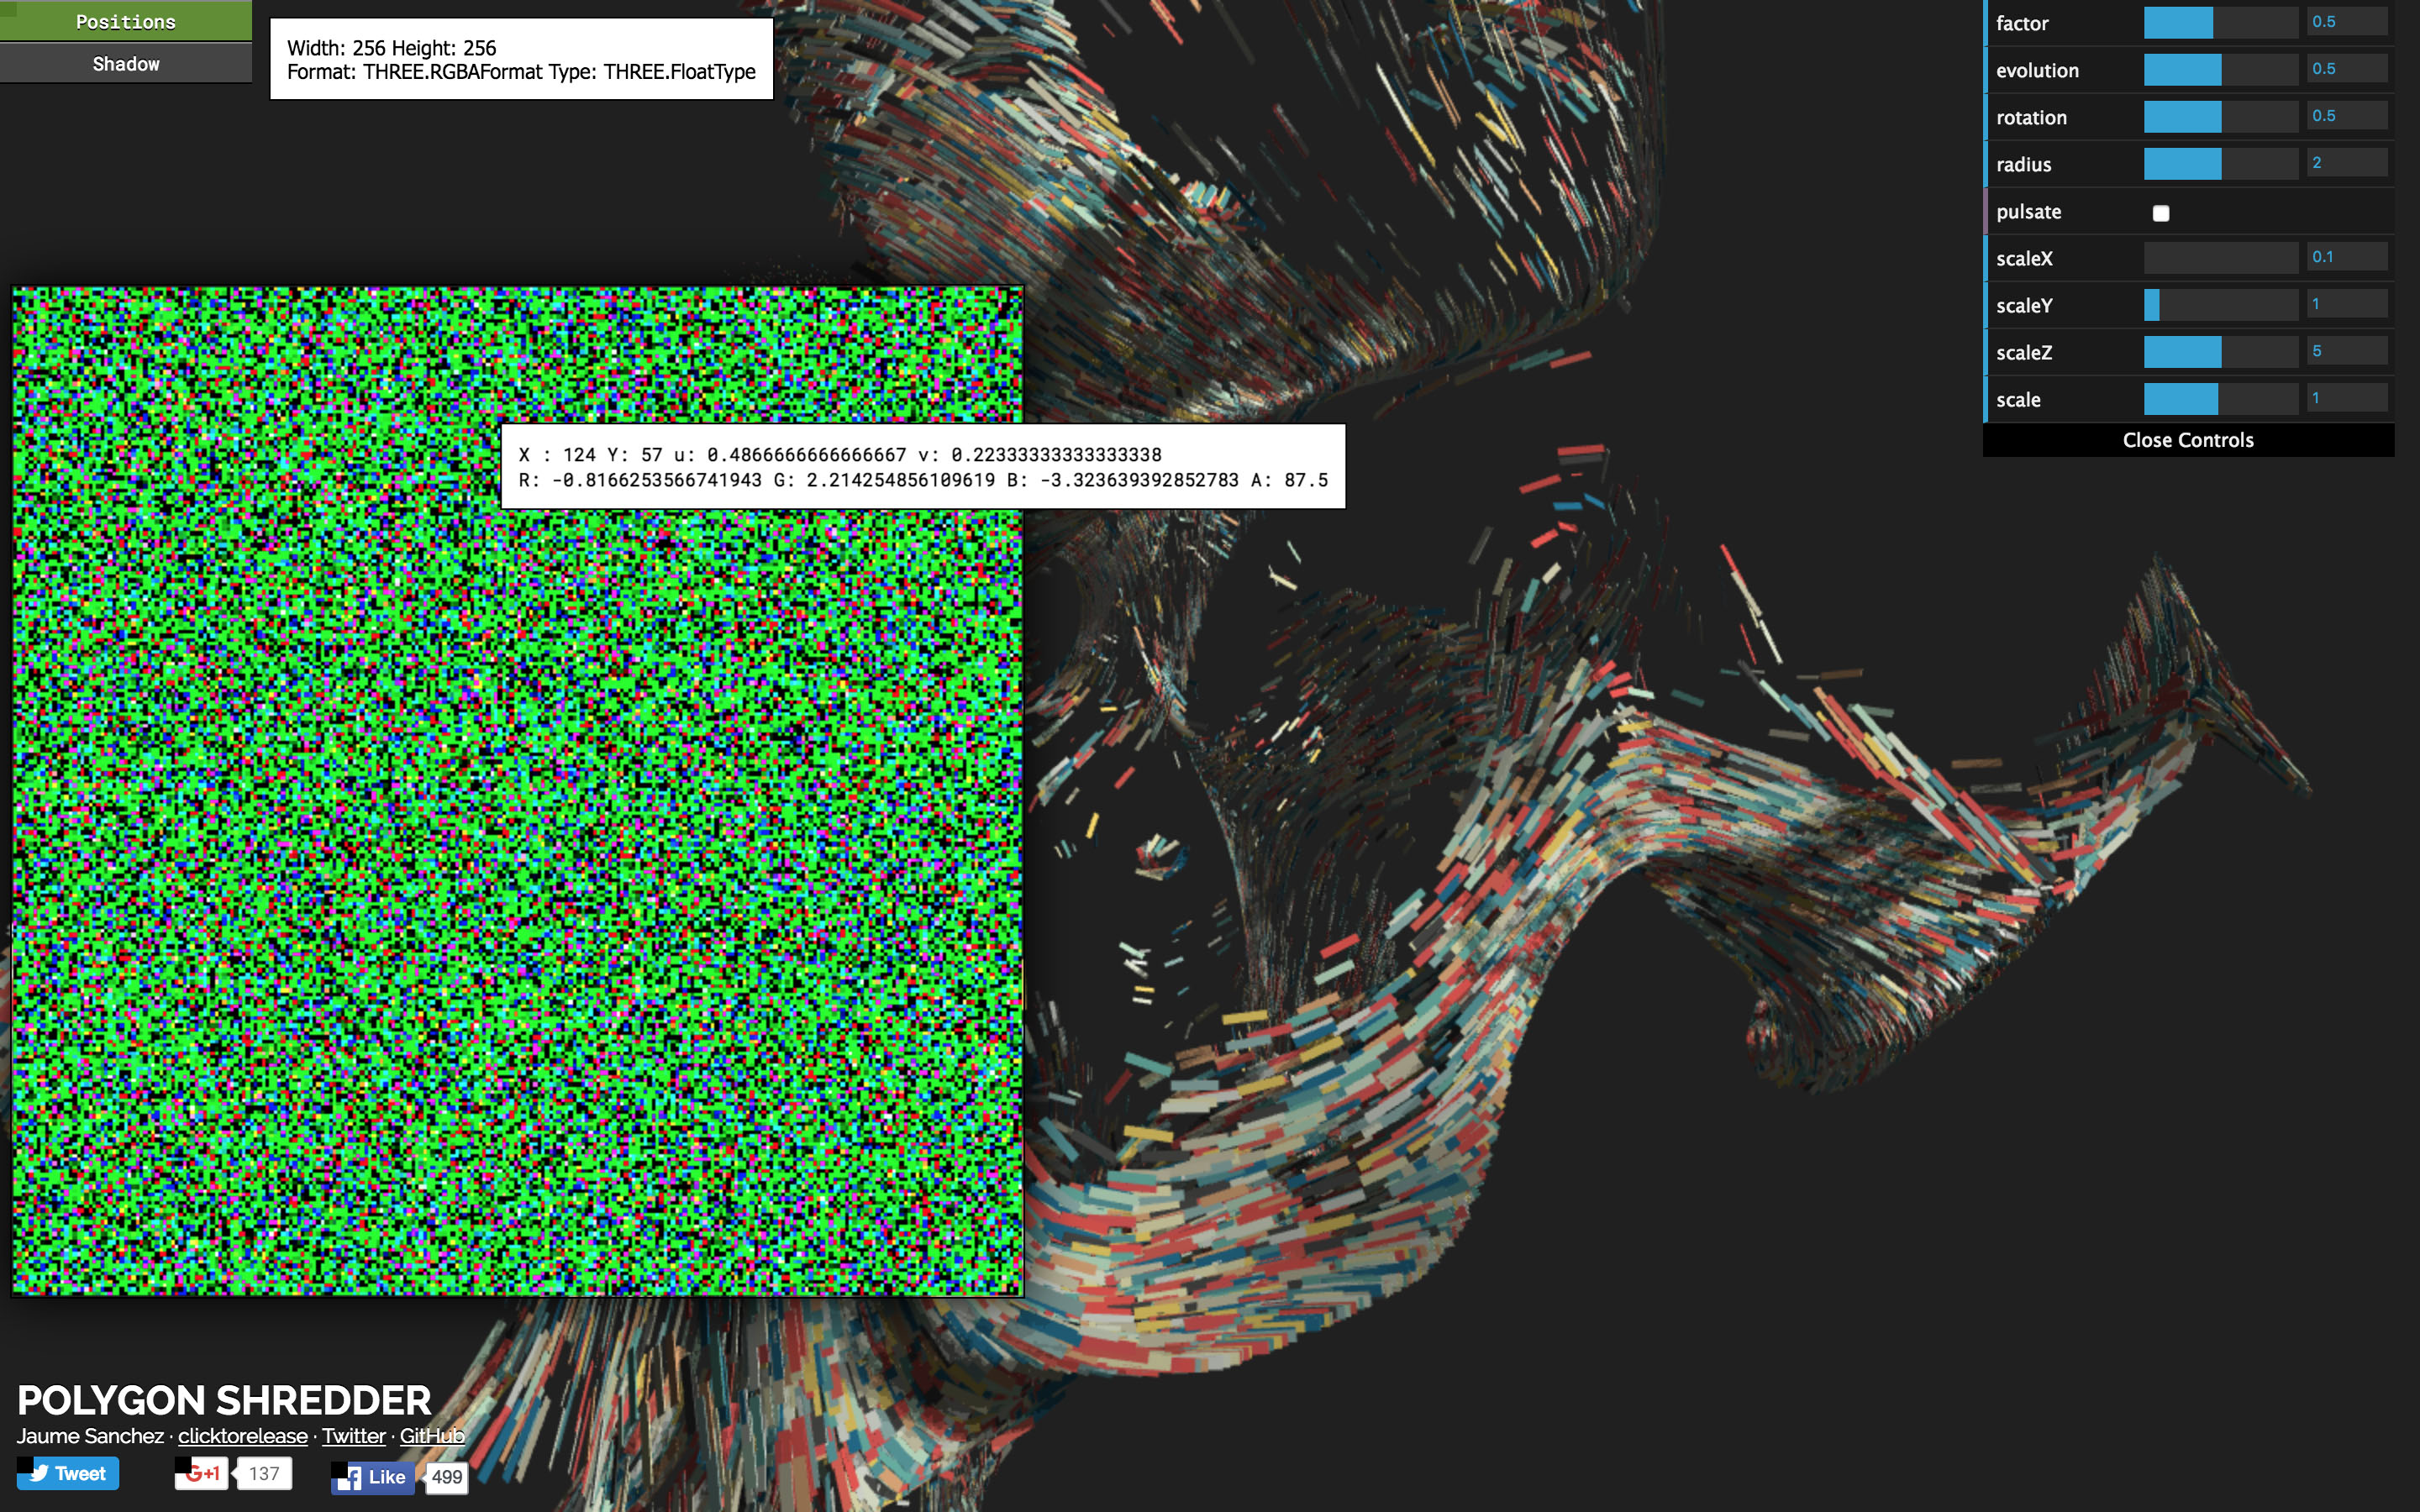
- Goth GPU Physics: a particle simulation running in render targets. Click the buttons on the top left to look inside each one, and hover to read its values
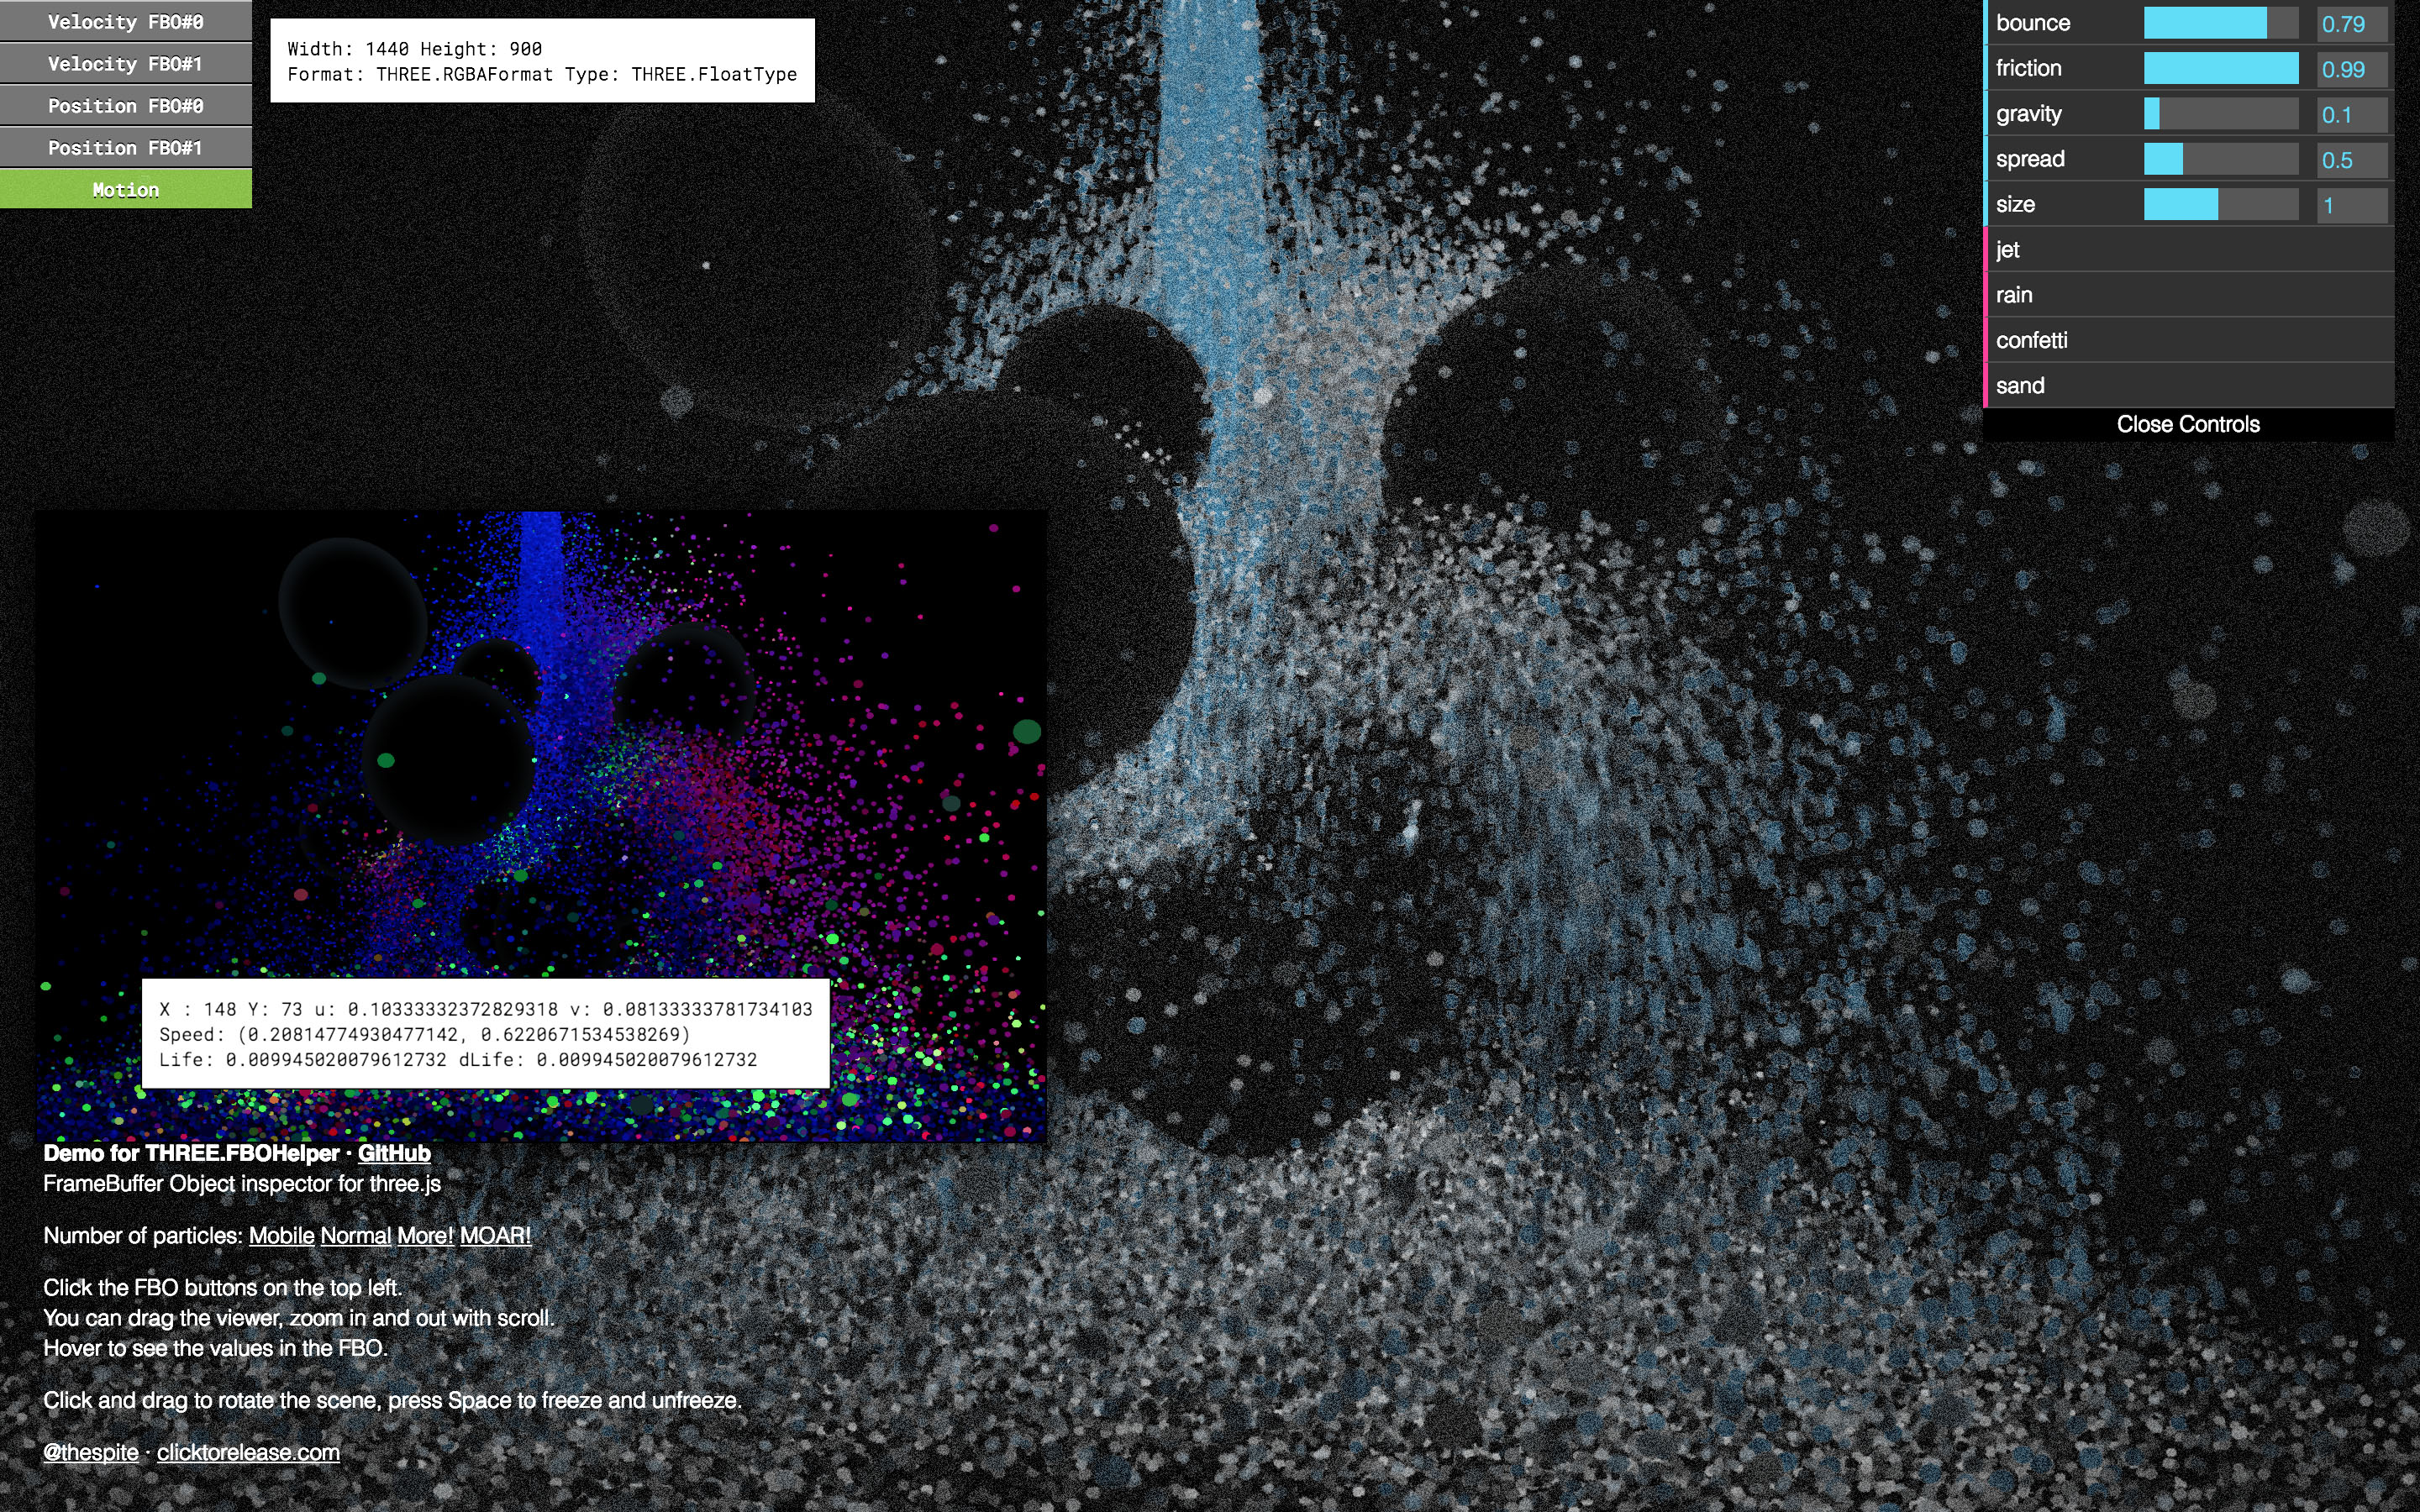
The Motion buffer of the demo open in the viewer, over the scene it belongs to. The card on the left shows its size, format and type, the range of values found in each channel, and what the picture is showing. The label reads the texel under the pointer.
2026 update
Disclaimer: this library is from 2016. With WebGLRenderer, three.js still has nothing built in to look inside a render target and read its values, so it’s still useful there
What three.js ships is different: TextureHelper, in the addons since r159 (2023), is a mesh that shows a texture inside your scene, without values. With WebGPURenderer there’s an Inspector in the addons since r181 (2025), which has a viewer for textures among many other things.
The library has been rewritten for current three.js. What changed from the 2016 version:
- it’s an ES module, and it needs three.js r152 or later
- the viewer shows the values as they’re stored, without tone mapping or color space conversion
- half float render targets can be read
detach()works, it used to skip targets and leave their viewer behind- there’s a
dispose()that removes the helper from the page - each target can name its channels and set the range of values to show, or have it measured
- any channel can be looked at on its own, alpha included, and values around zero are shown by sign
- a texel can be pinned, to keep reading it as it changes
- the label follows the values under a still pointer, and the viewer has keyboard shortcuts
- the helper keeps the
autoClearsetting of the renderer, and doesn’t load a font from Google Fonts anymore - the viewer follows the canvas wherever it is in the page, it used to assume the canvas filled the window
- nothing is drawn while the viewer is closed
Screenshots
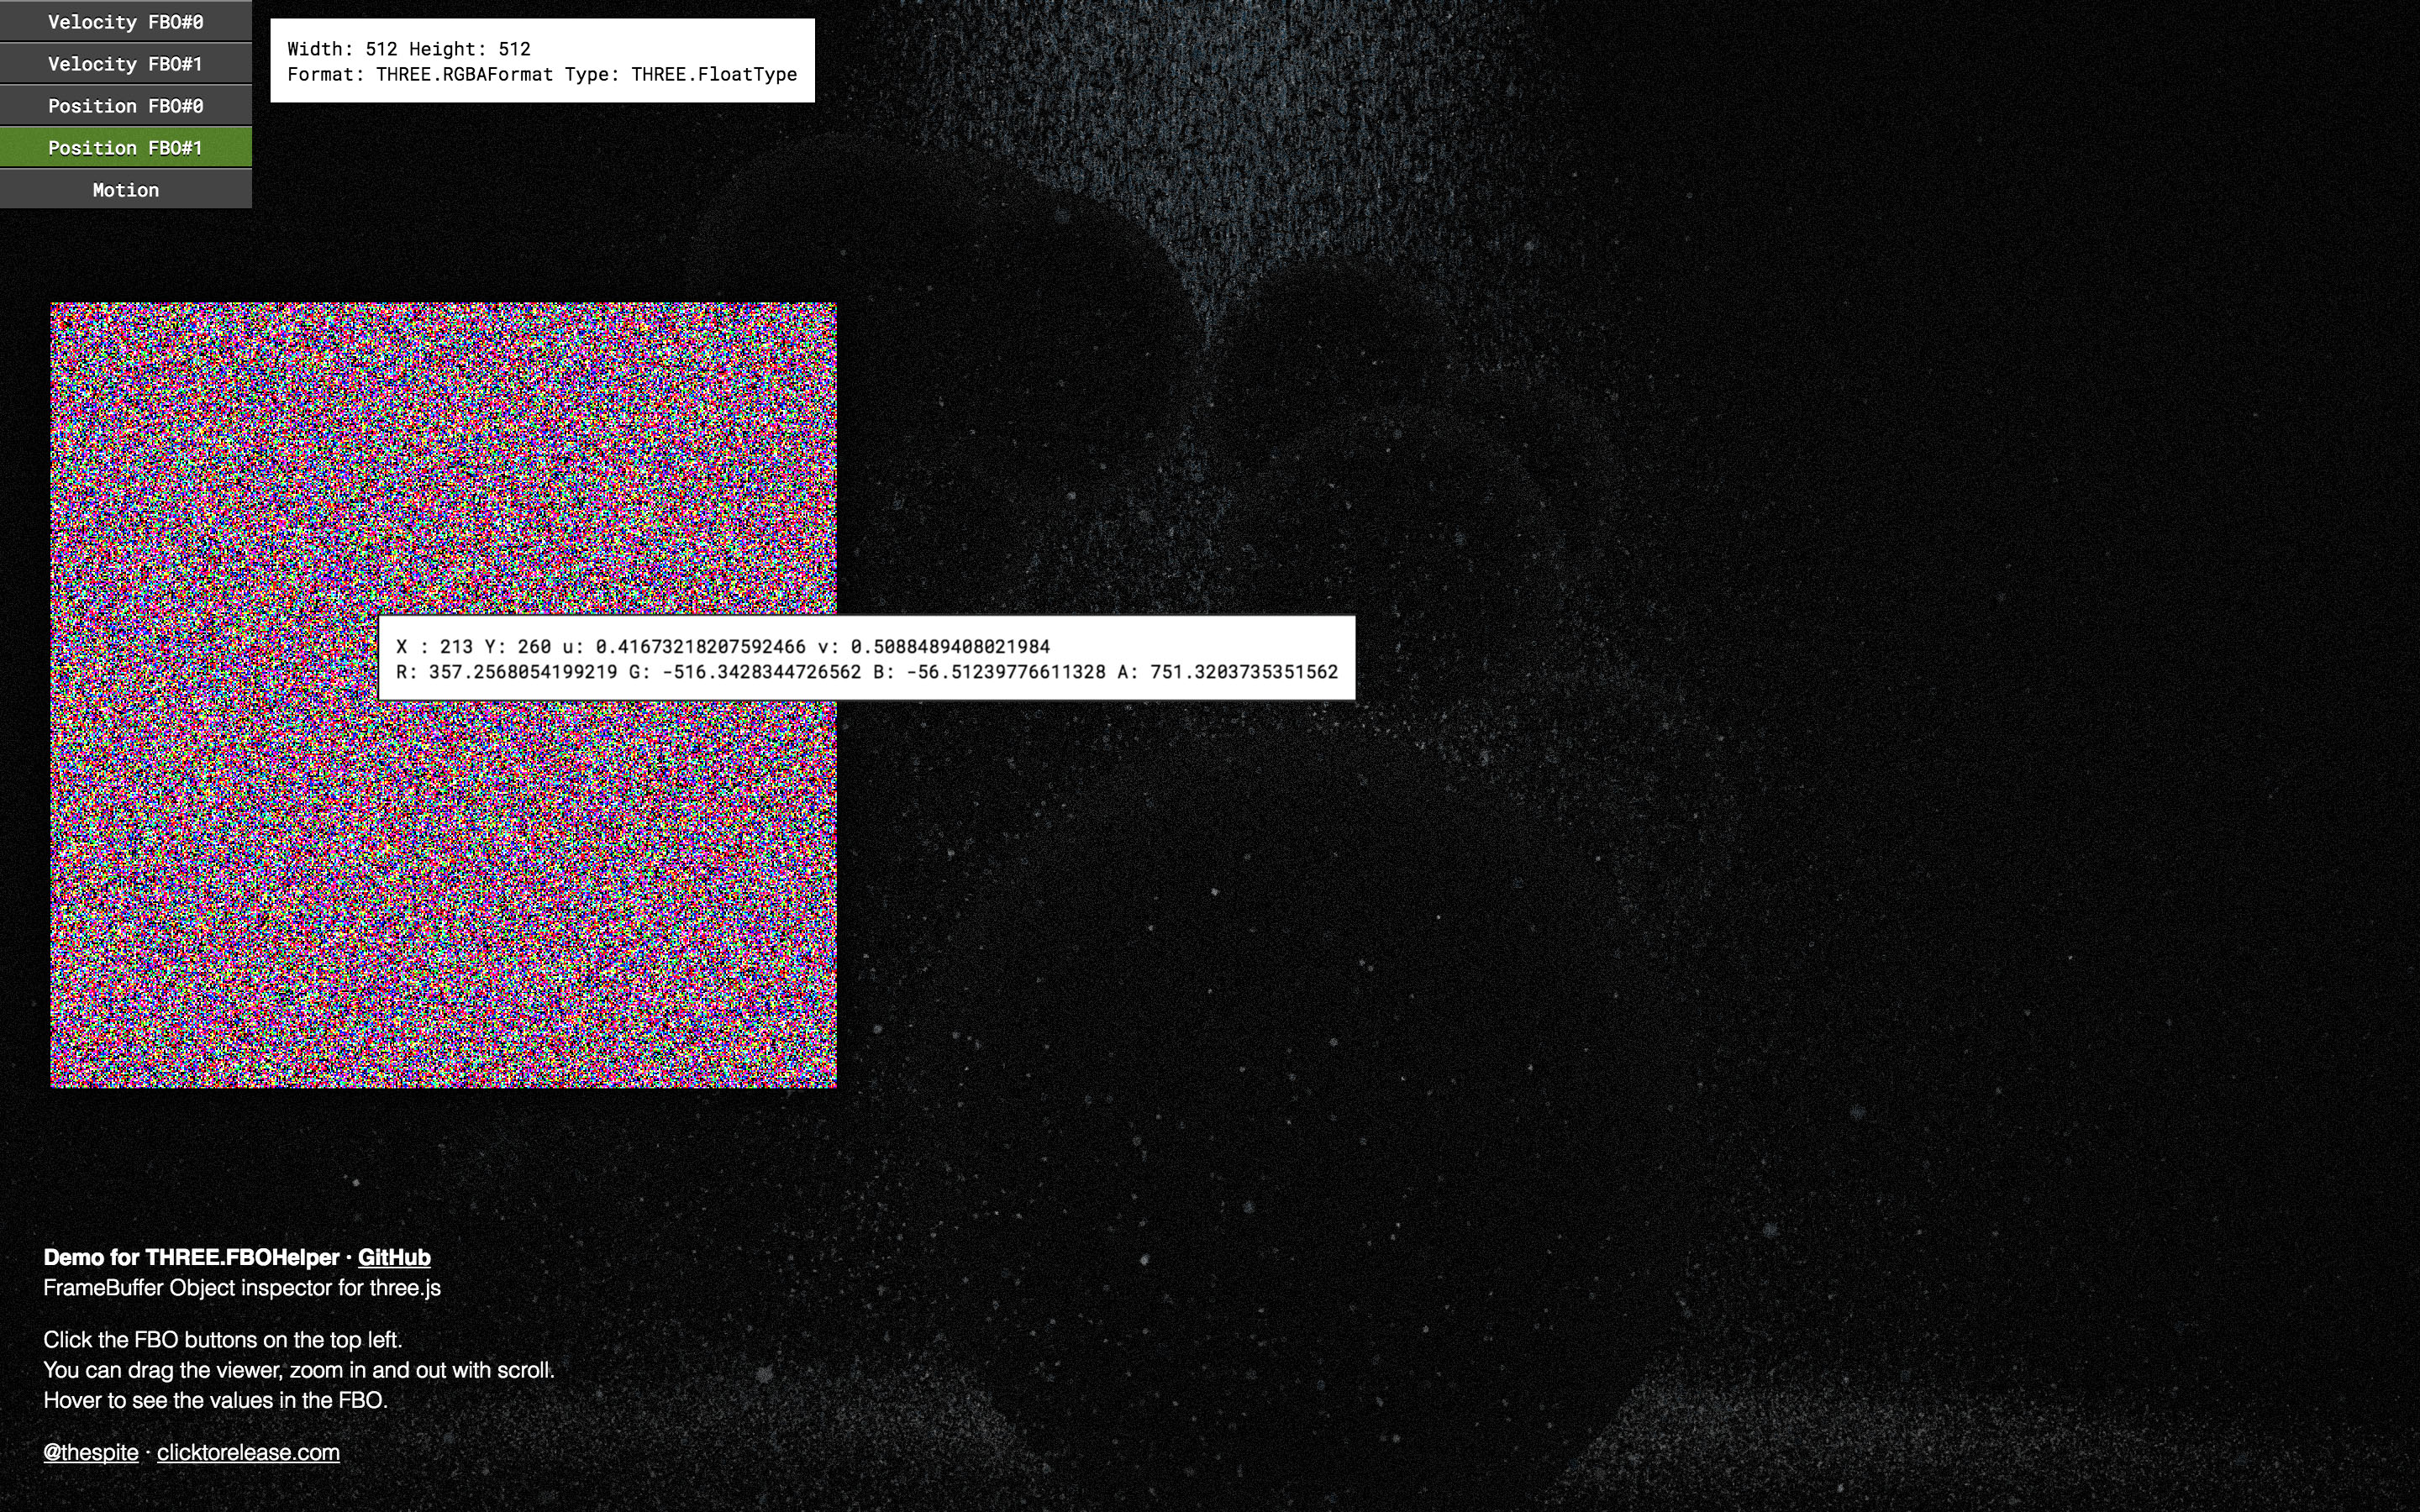
The Position buffer, one texel per particle, with x, y and z as red, green and blue. The label shows the position and the age of the particle under the pointer.
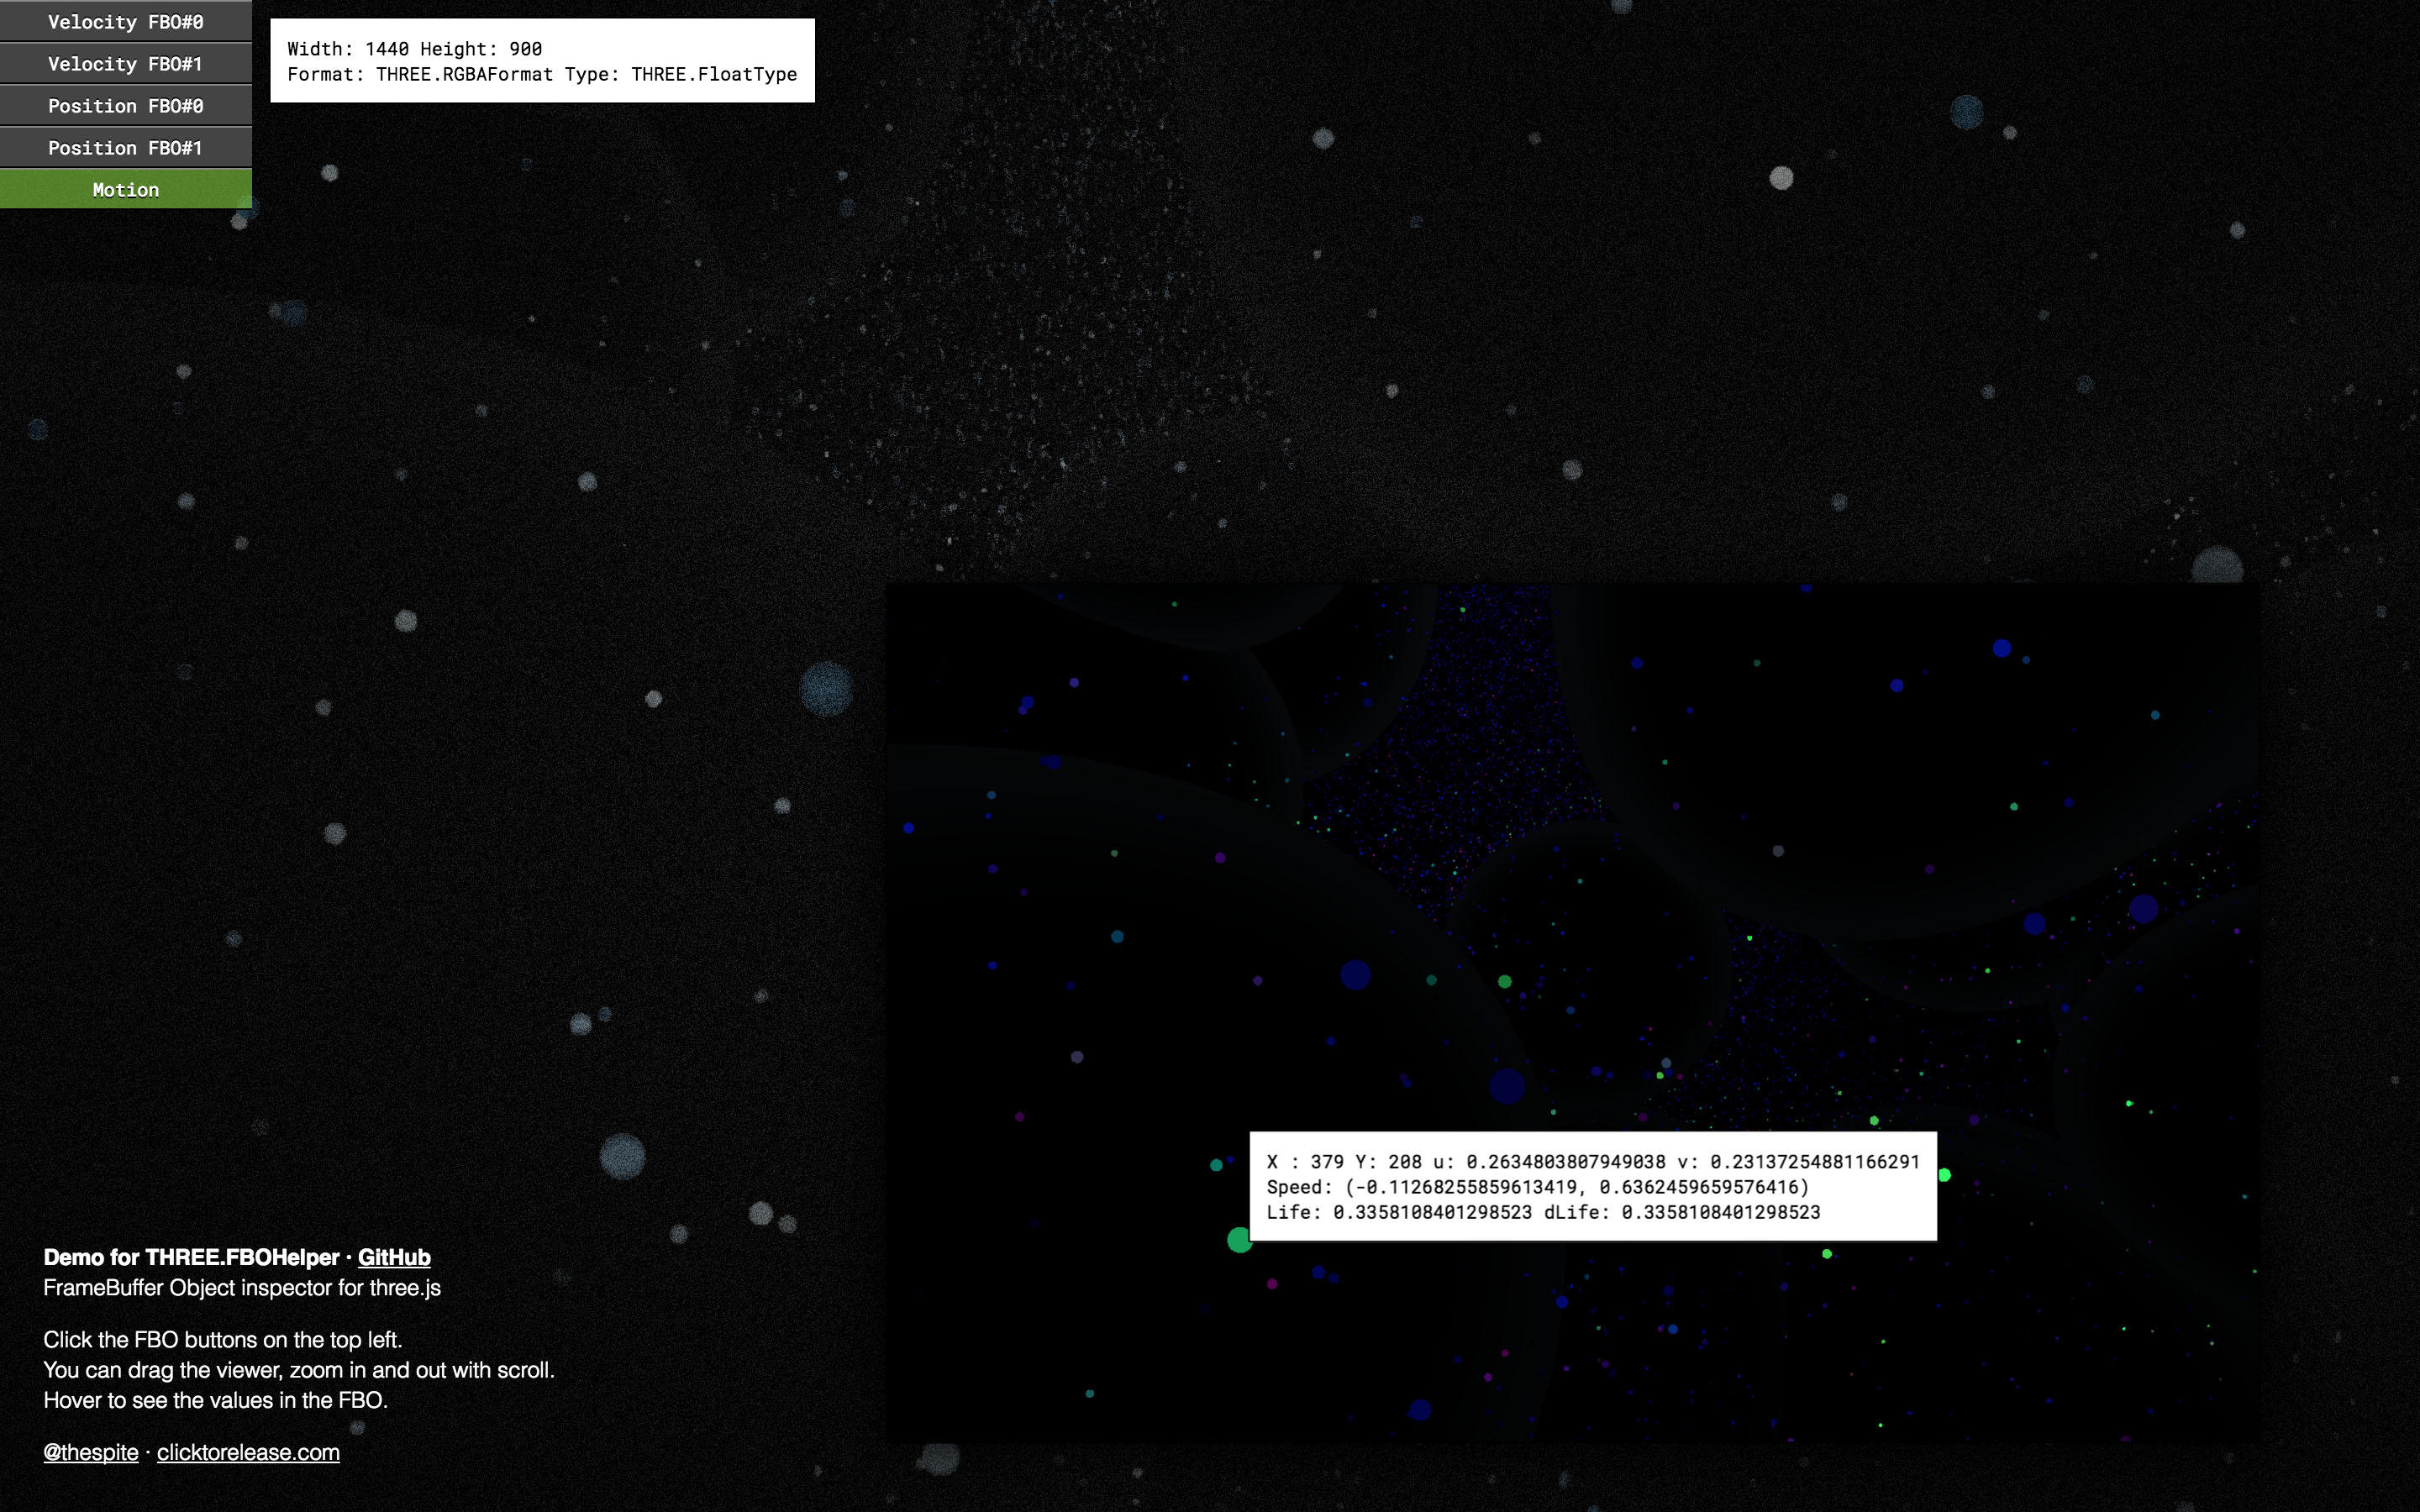
The Motion buffer, the scene as the final pass reads it: red and green are how fast each particle moves on screen, blue how much life it has left. The speeds are shown by sign, so what stands still is black.
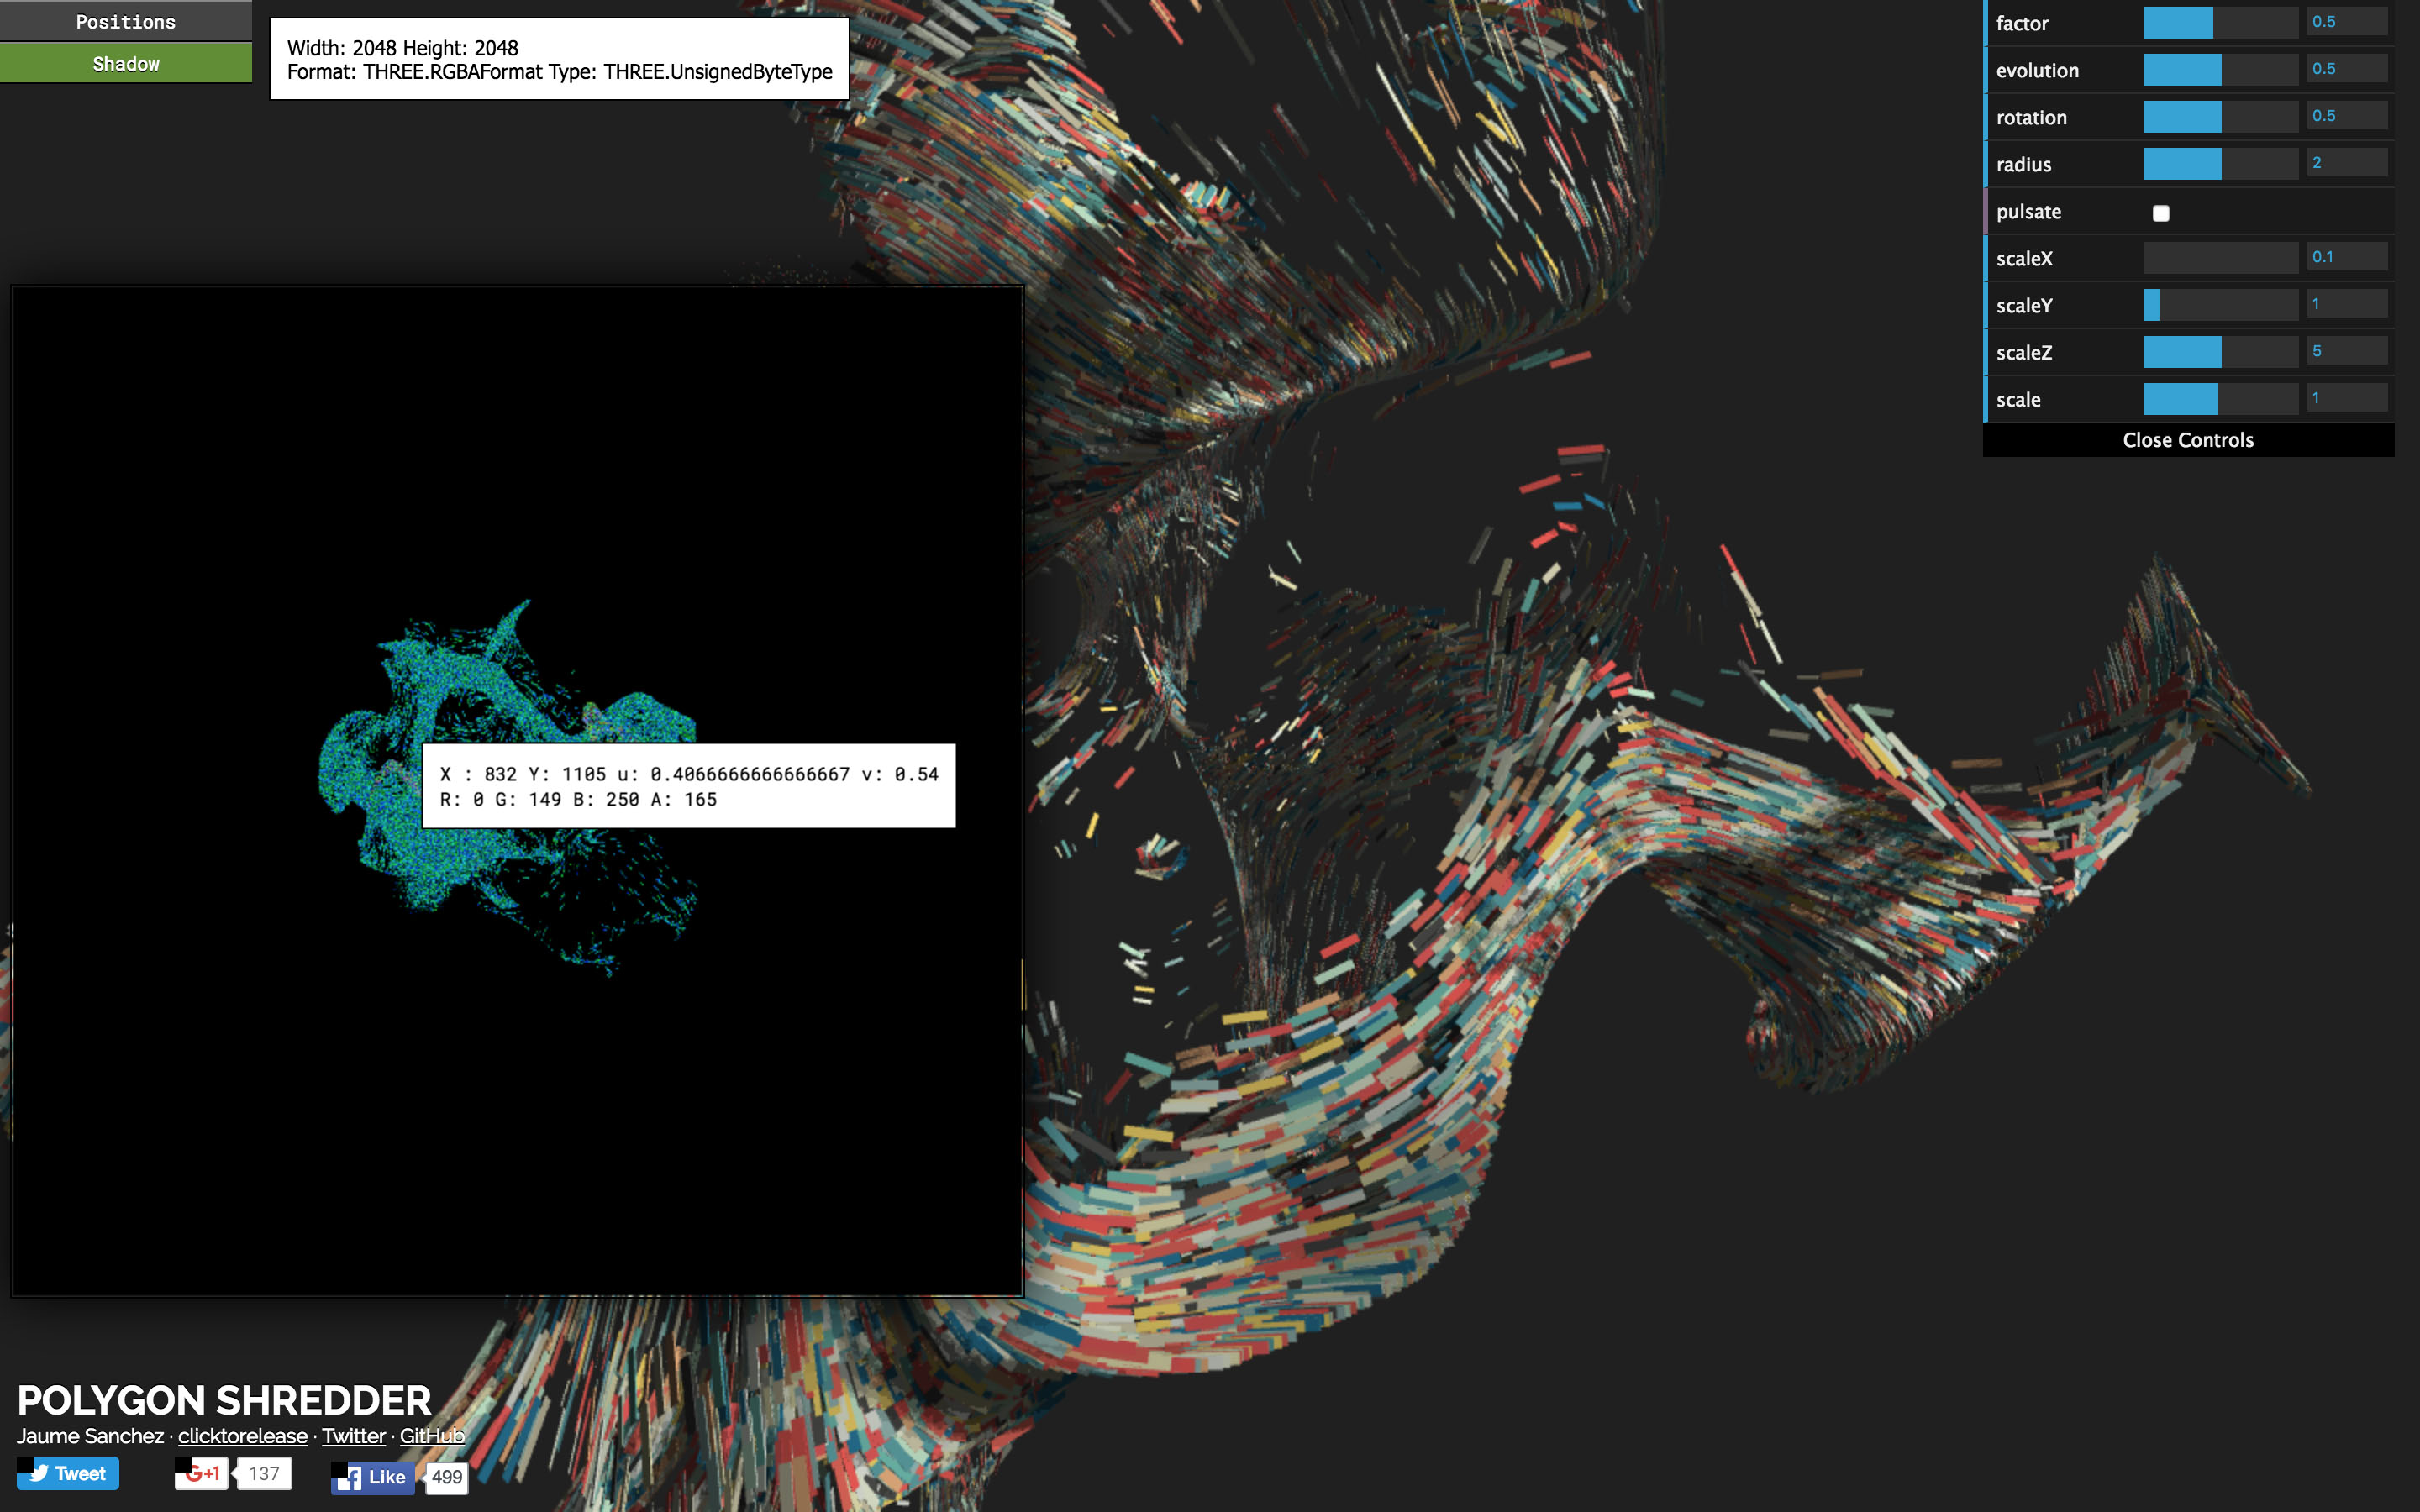
The alpha channel of the Position buffer on its own, zoomed in: the age of each particle, from dark to light. One texel is pinned, so its label keeps reading that particle.
The red channel of the Velocity buffer on its own, the sideways speed of each particle after it bounces. It is shown by sign: blue is moving one way, orange the other, and black is not moving sideways at all.
How to use
- Use npm to install the package, alongside three.js:
npm i three three.fbo-helperand import it in your code
import * as THREE from 'three';
import { FBOHelper } from 'three.fbo-helper';
It’s a plain ES module, so it also works without a bundler as long as an import map resolves
three(see demo/index.html). - Create a helper linked to a WebGLRenderer
const helper = new FBOHelper( renderer ); - The viewer is drawn over the canvas and follows its size and position, so calling
.setSizeis no longer needed. It’s still there, and does no harm - Attach WebGLRenderTargets at discretion
helper.attach( fieldFBO, 'Distance Field' ); helper.attach( particleFBO, 'Particles' );attach()admits a third parameter that tells the helper how to read the target:helper.attach( positionFBO, 'Positions', { channels: { r: 'position x', g: 'position y', b: 'position z', a: 'age' }, range: 'auto' } );channelsgives a name to what each channel holds. The label under the pointer lists the channels that have a name, and the info card uses the names too.
range is the range of values that the picture shows, from black to full color. It can be one [ min, max ] for all the channels, one per channel like { r: [ - 1, 1 ], b: [ 0, 1000 ] }, or 'auto' to use the smallest and largest value of each channel in the target. A channel can be 'auto' on its own too, like { r: 'auto', b: [ 0, 1 ] }. An automatic range leaves out the lowest and the highest 1% of the values, so a few stray ones don’t flatten the picture. Pass outliers: true to use the whole range. Without it the picture shows 0 to 1, and anything outside clips. It only changes the picture, the values read are always the stored ones.
The info card shows the range found in each channel when a target is opened. Call helper.measure( fbo ) to measure it again and get it back as { min, max }, with four values each. An automatic range is measured again as the target changes, unless it has more than a million texels.
A range that crosses zero is shown by sign: the picture shows how far each value is from zero, so zero is black, and the largest value of either sign is full color. Pass signed: false to show such a range from its minimum to its maximum instead, or signed: { r: true } to choose per channel.
The info card has buttons to look at one channel at a time, as greys, with the alpha channel too. A channel shown by sign is blue below zero and orange above it. channel: 'a' in the options sets the channel a target starts with, and helper.setChannel( fbo, 'a' ) changes it later. The values are 'rgb', 'r', 'g', 'b' and 'a'.
formatter is a function that receives an object with the values of the current point x, y, u, v, r, g, b, and a, and returns a custom string for the label. A function as third parameter is taken as the formatter.
Example:
helper.attach( buffer, 'Particles', {
  formatter: function( d ) {
    return `Position: (${d.r}, ${d.g}, ${d.b}) | Life: ${d.a}`;
  }
} );
A texture can be attached too, to look at it, but only render targets can be read.
- Update with your animation loop, after rendering your scene to the canvas
helper.update();The label keeps reading the value under the pointer on every update, so it follows the target without having to move the pointer. Set
helper.autoUpdate = falseto read only when the pointer moves. - If for any reason you resize the FBO, call:
helper.refreshFBO( fbo ); - Call
.detachto remove any fbo previously attachedhelper.detach( fbo ); - Call
.disposeto remove the helperhelper.dispose();
Click a texel to pin it: the label stays on it and keeps reading it on every update, wherever the pointer goes, which is how to follow one particle in a simulation. Click it again to release it. helper.pin( fbo, x, y ) and helper.unpin() do the same from code.
While the viewer is open, the keyboard works too:
| Key | Does |
|---|---|
| Up, Down | previous and next target |
| Left, Right | previous and next channel |
| R, G, B, A | that channel alone |
| C | back to the color picture |
| 0 | reset zoom and position |
| Escape | close the viewer |
The keys are left alone while the viewer is closed, while typing in a field, and with Ctrl, Alt or Cmd pressed. Set helper.keyboard = false to turn them off. helper.show( fbo ) opens the viewer on a target from code, and helper.hide() closes it.
Once the helper is working, you can select FBOs to inspect, and drag the viewer around and use the scroll/mousewheel to zoom in and out, around the pointer. Double click to reset the view, and press Escape to close the viewer.
License
MIT licensed
Copyright (C) 2016 Jaume Sanchez Elias, https://www.clicktorelease.com